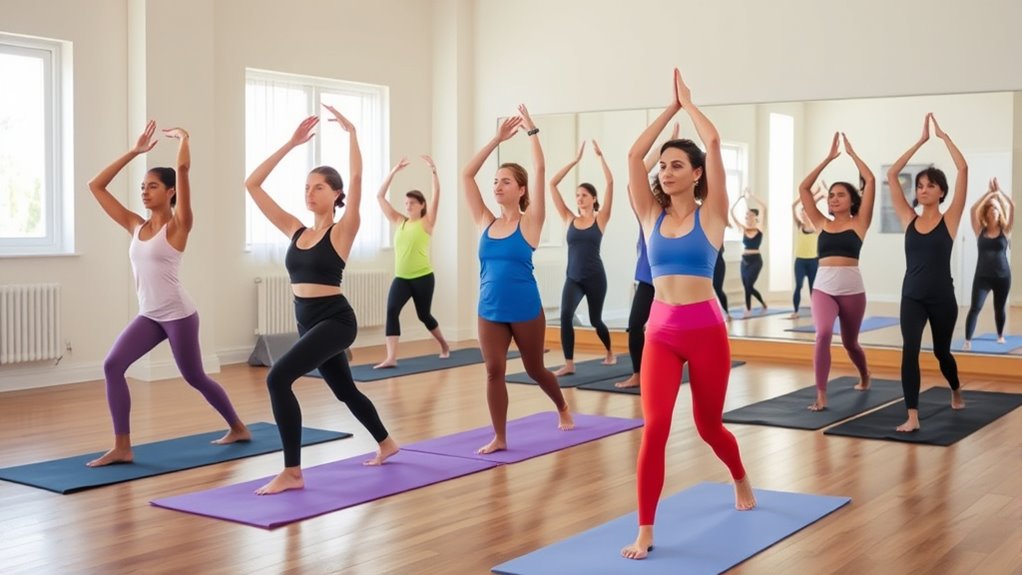

To get started with yoga, focus on basic poses like Mountain (Tadasana), Downward Dog (Adho Mukha Svanasana), Child’s Pose (Balasana), Warrior I, Tree Pose, Cat-Cow, Seated Forward Bend, Bridge, and Savasana. These help build strength, flexibility, and mindfulness while teaching proper alignment and breathing. Practicing these foundational poses regularly sets a solid base for your practice. Keep exploring, and you’ll discover even more ways to deepen your yoga journey.
Key Takeaways
- Start with foundational poses like Mountain Pose to build proper alignment and body awareness.
- Incorporate simple poses such as Downward Facing Dog and Child’s Pose to develop strength and flexibility.
- Focus on synchronized breathing to enhance relaxation and mindfulness during each pose.
- Use props and modifications to ensure proper posture and prevent strain for beginners.
- Practice relaxation poses like Savasana to integrate benefits and cultivate calmness.
Top picks for "basic yoga beginner"
Open Amazon search results for this keyword.
As an affiliate, we earn on qualifying purchases.
Mountain Pose (Tadasana)
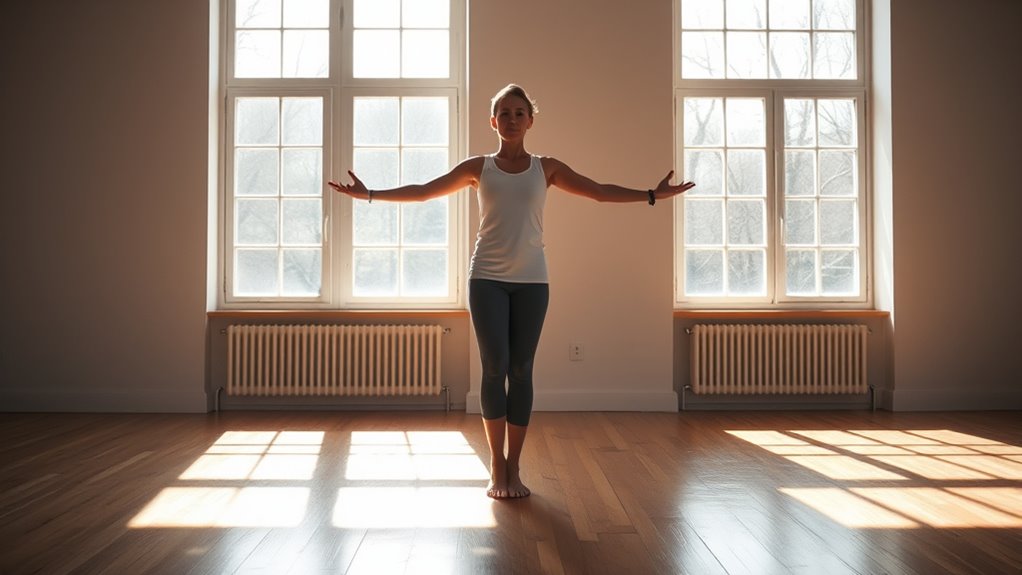
Mountain Pose (Tadasana) is the foundation of many yoga practices, helping you establish proper alignment and balance. To do this effectively, focus on breath control—inhale deeply through your nose, filling your lungs, and exhale steadily to maintain calmness. As you stand tall, activate your legs, engaging your thigh muscles, and draw your tailbone slightly downward. Keep your shoulders relaxed and away from your ears, aligning your head with your spine. Good posture alignment is key; imagine a string pulling the crown of your head upward, lengthening your spine. With steady breath control, you create a stable base that enhances your awareness of body positioning. This pose improves posture and prepares you for more complex poses in your practice. Understanding proper posture is essential for ensuring safety and maximizing the benefits of yoga.
Downward Facing Dog (Adho Mukha Svanasana)

To get the most out of Downward Facing Dog, focus on maintaining proper alignment by keeping your hands shoulder-width apart and your hips high. Remember to breathe deeply and steadily, coordinating your movements with each inhale and exhale. This mindful approach helps improve strength, flexibility, and balance in the pose. Incorporating proper equipment like yoga mats can also enhance comfort and stability during practice.
Proper Alignment Tips
Ensuring proper alignment in Downward Facing Dog is essential for maximizing benefits and preventing strain. Focus on alignment cues like spreading your fingers wide and pressing firmly through your palms to distribute weight evenly. Keep your hands shoulder-width apart and your feet hip-width apart, ensuring your heels reach toward the floor. Engage your core to lengthen your spine and avoid collapsing your chest. When your hips lift, check that your ears stay aligned with your upper arms, not collapsing inward or outward. Make posture corrections as needed—such as slightly bending your knees if your hamstrings feel tight or adjusting your hand placement for better balance. Proper alignment helps you deepen the stretch safely while maintaining comfort and stability throughout the pose.
Breathing and Movement
Connecting your breath with your movement in Downward Facing Dog helps deepen the pose and maintain focus. To enhance your practice, follow these steps:
- Inhale deeply through your nose, expanding your chest and lengthening your spine.
- Exhale slowly, engaging your core and grounding your hands and feet firmly into the mat.
- Practice mindful movement by synchronizing each inhale and exhale with your progression into and out of the pose.
- Use breathing techniques like Ujjayi breath to create a steady, calming rhythm that supports relaxation and concentration.
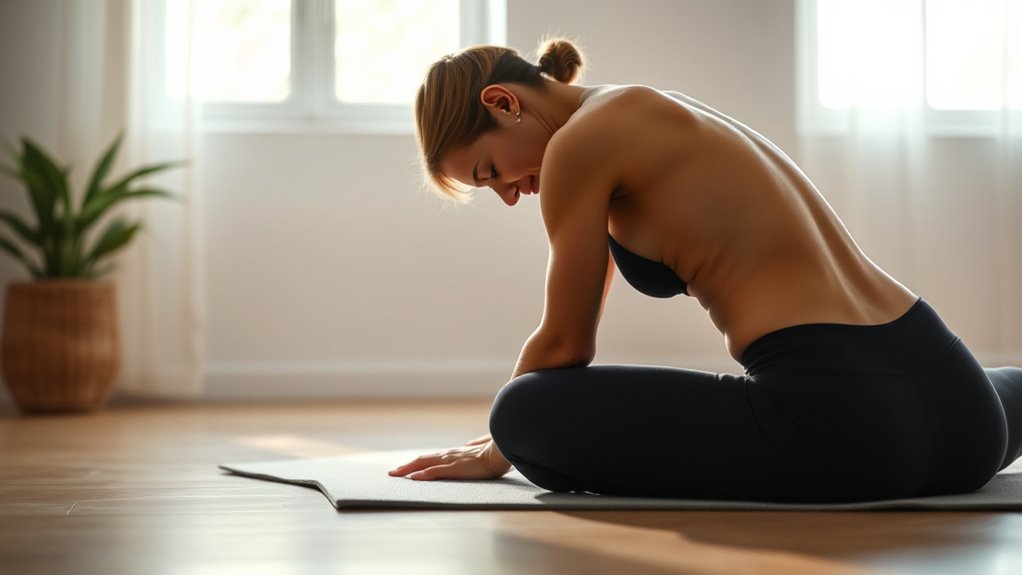
Child’s Pose (Balasana)
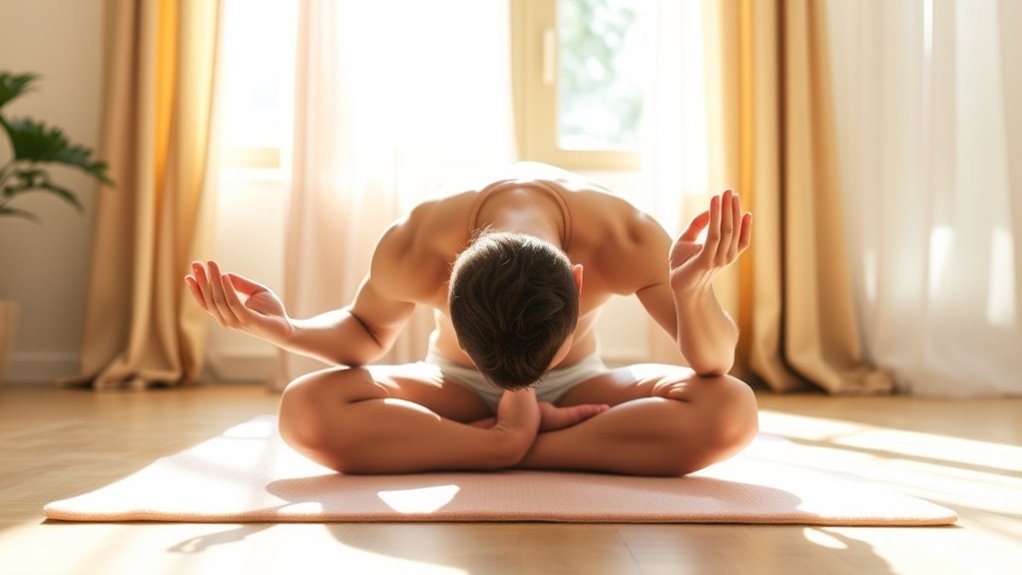
To get the most benefit from Child’s Pose, you should set up your body correctly and focus on your breathing to relax fully. Pay attention to common mistakes, like collapsing your chest or straining your neck, so you can avoid discomfort. We’ll explore these setup tips, breathing techniques, and pitfalls to help you practice safely and effectively.
Proper Child’s Pose Setup
Starting in a kneeling position, kneel with your big toes touching and sit back onto your heels. To properly set up child’s pose, follow these steps:
- Extend your arms forward or rest them alongside your body, whichever feels more comfortable.
- Lower your torso between your knees, keeping your forehead grounded to enhance the child’s pose benefits.
- Adjust your knees apart if you need more space or keep them closer for added support.
- Use child’s pose modifications like placing a cushion under your hips or forehead if you experience discomfort.
- Incorporating mindful breathing during this pose can deepen relaxation and connect you to your body’s emotional well-being.
This pose promotes relaxation and flexibility, making it beginner-friendly. Proper arrangement ensures you gain the full benefits of child’s pose while preventing strain or injury.
Breathing and Relaxation Techniques
Focusing on your breath while in child’s pose helps deepen relaxation and enhances the pose’s calming effects. Use mindful breathing to bring awareness to each inhale and exhale, allowing your body to settle into a state of calm. As you breathe, feel your belly rise and fall naturally, releasing tension with every exhale. Incorporate simple relaxation techniques, like slow, deliberate breaths, to quiet your mind and reduce stress. These breathing practices help you stay present and grounded, making your child’s pose more restorative. Remember to breathe smoothly and evenly, avoiding shallow or rapid breaths. Consistent breathing can also help prolong shelf life and maintain the quality of your practice. By intentionally focusing on your breath, you’ll amplify the calming benefits of this pose, promoting mental clarity and physical relaxation.
Common Mistakes to Avoid
One common mistake in Child’s Pose is collapsing the chest or letting the hips drift too far forward, which can lead to discomfort or strain in the lower back. These alignment errors often stem from beginner pitfalls like rushing into the pose or not paying attention to body positioning. To avoid these mistakes, keep these tips in mind:
- Ensure your hips are aligned over your knees for proper support.
- Extend your arms forward comfortably without overreaching.
- Relax your forehead onto the mat to maintain neck alignment.
- Focus on lengthening your spine rather than forcing the pose deeper.
Warrior I (Virabhadrasana I)

Warrior I (Virabhadrasana I) is a powerful standing pose that builds strength and stability in your legs, hips, and arms. The benefits of Warrior I include improving balance, increasing leg endurance, and opening your chest. It also boosts your confidence and focus. If you find this pose challenging, you can try modifications like shortening your stance, placing your hands on your hips instead of raising them overhead, or supporting your back foot with a block. These adjustments make it easier to maintain proper alignment and prevent strain. Remember to keep your back leg active and engage your core throughout. Practicing Warrior I regularly helps you develop greater strength, flexibility, and mental resilience, making it a fundamental pose for beginners. Understanding proper alignment is essential to prevent injuries and maximize the pose’s benefits.
Tree Pose (Vrikshasana)
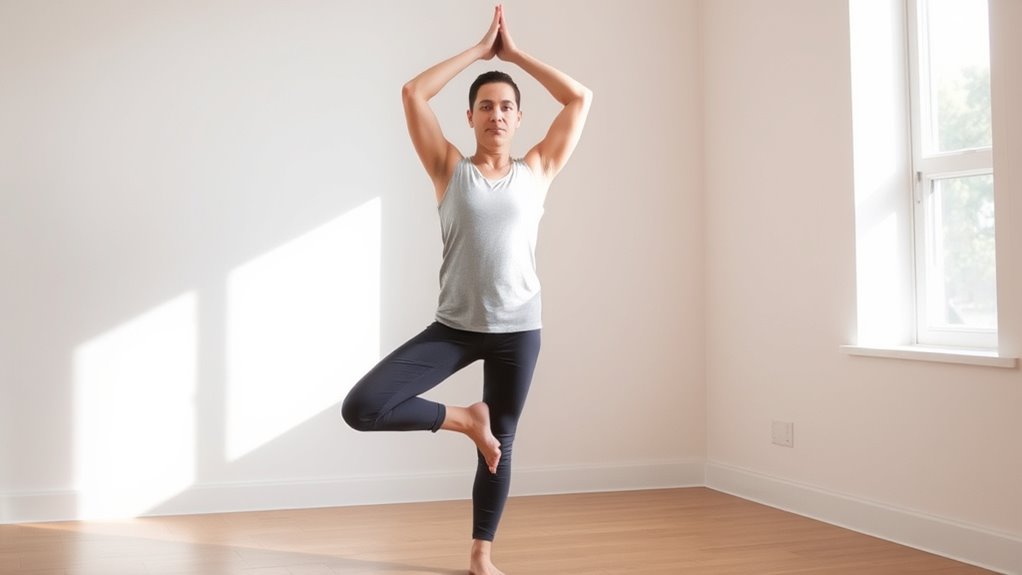
Tree Pose (Vrikshasana) is a balancing posture that enhances stability and concentration while strengthening your legs and core. This pose embodies tree symbolism, reminding you to stay grounded and grow steadily. To practice effectively:
- Find a stable spot and shift your weight onto one leg.
- Place your opposite foot on your inner thigh or calf (avoid the knee).
- Bring your hands together in prayer position at your chest.
- Focus on a fixed point to improve balancing benefits and mental clarity.
- Incorporating protective styling benefits can help maintain your hair health during regular practice.
This pose encourages you to develop patience and resilience, much like a tree standing tall through seasons. It’s a simple yet powerful way to boost your focus, build strength, and connect with nature’s symbolism.
Cat-Cow Pose (Marjaryasana-Bitilasana)
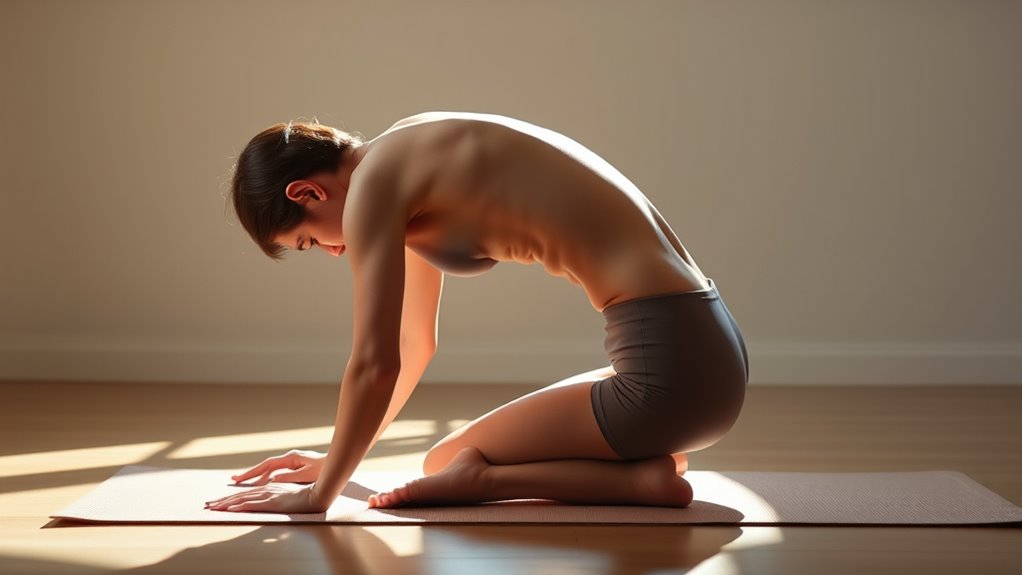
Cat-Cow Pose (Marjaryasana-Bitilasana) is a gentle, flowing sequence that warms up your spine and improves flexibility. As you move between these poses, you’ll connect with yoga philosophy’s emphasis on breath and awareness, fostering mindfulness in your practice. This sequence helps you synchronize your breath with movement, laying a foundation for meditation techniques that cultivate focus and calmness. By gently articulating your spine, you release tension and increase circulation, making it an excellent warm-up for deeper poses. Practicing this pose regularly encourages a mindful approach to your body and breath, aligning with yoga’s holistic principles. It’s simple yet effective, helping you develop body awareness and prepare mentally and physically for more advanced postures. Incorporating mindfulness into your practice can deepen your connection to your body and enhance overall well-being.
Seated Forward Bend (Paschimottanasana)
After warming up your spine with Cat-Cow Pose, you can deepen your practice by moving into Seated Forward Bend (Paschimottanasana). This pose stretches your hamstrings, calves, and spine, helping improve flexibility. To enhance your experience, consider using yoga props like a bolster or folded blanket to support your back or legs if needed. Keep your spine long as you hinge forward from the hips, not the waist. Focus on your breath to deepen the stretch and incorporate meditation techniques, like mindful breathing, to stay present. Here are key tips:
- Use yoga props for comfort and alignment.
- Keep your chest open and shoulders relaxed.
- Breathe deeply to increase relaxation.
- Hold the pose gradually, avoiding strain.
- Incorporating mindfulness into your practice can help deepen your awareness and enhance the benefits of the pose.
Bridge Pose (Setu Bandhasana)
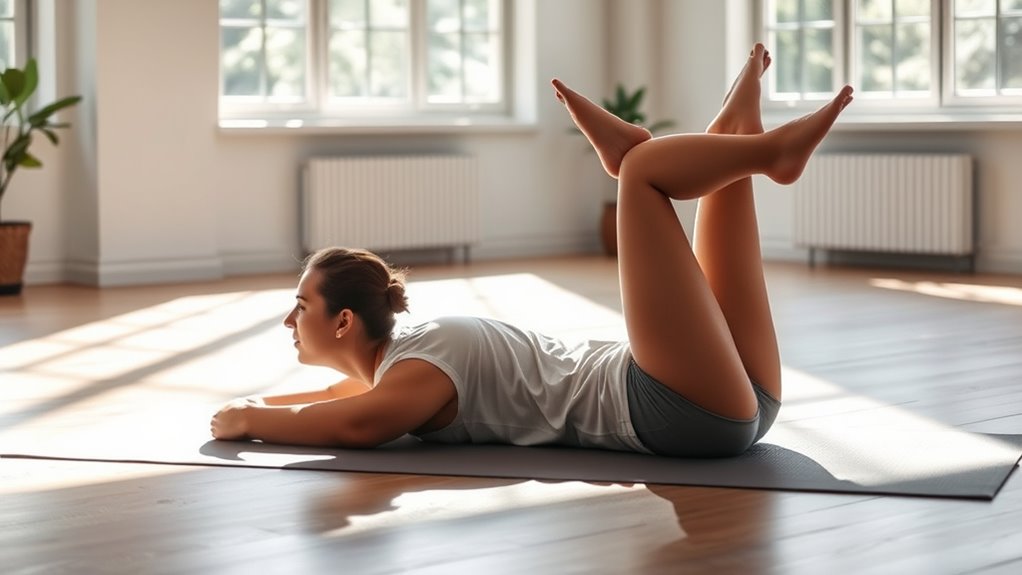
Bridge Pose (Setu Bandhasana) is a powerful backbend that strengthens your glutes, hamstrings, and lower back while opening your chest and shoulders. This pose also boosts your core strength, helping stabilize your spine and improve posture. As you lift your hips, you enhance spinal flexibility, making your back more resilient and less prone to stiffness. Engaging your core during the pose supports your lower back and maintains balance. Keep your feet flat on the ground, knees bent, and shoulders grounded. Focus on lifting your hips evenly and steadily, avoiding strain. Regular practice of Bridge Pose helps develop strength and flexibility in your spine, contributing to better overall back health and a more open chest for deeper breathing. Incorporating this pose into your routine can also improve your posture and reduce discomfort caused by poor spinal alignment.
Corpse Pose (Savasana)
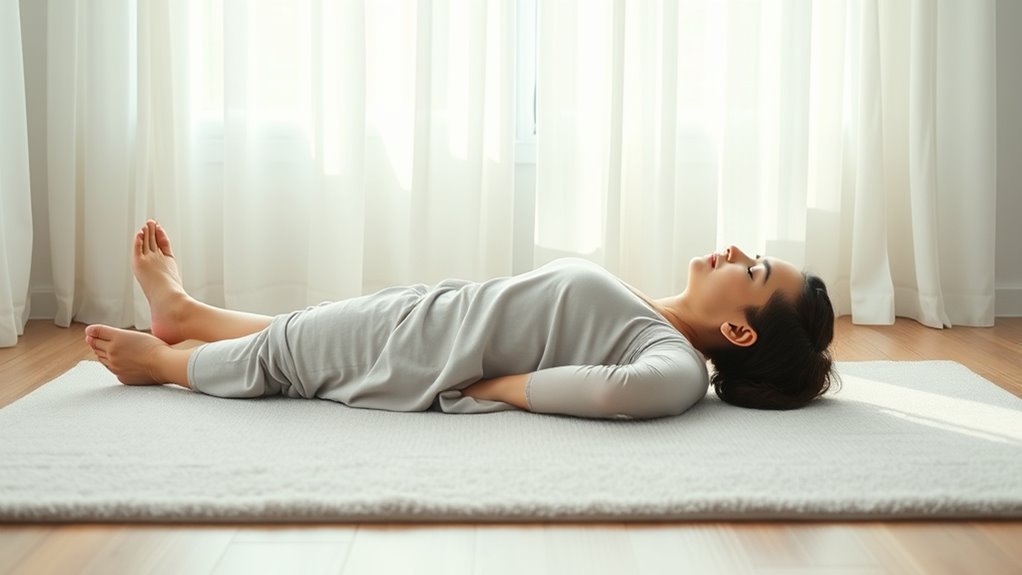
Corpse Pose (Savasana) is a fundamental relaxation posture that helps your body absorb the benefits of your yoga practice. It allows you to fully relax, integrating the physical and mental benefits. To deepen your experience, try these relaxation techniques:
Savasana promotes deep relaxation, helping your body and mind fully absorb yoga benefits.
- Focus on your breath, noticing each inhale and exhale to enhance meditation benefits.
- Scan your body for tension, releasing it consciously with each exhale.
- Use visualization techniques, imagining a peaceful place to calm your mind.
- Remain still for 5-10 minutes, allowing your nervous system to reset.
- Incorporate mindfulness practices to further enhance relaxation and stress reduction.
Savasana is essential for cultivating relaxation techniques that reduce stress and improve overall well-being. Regular practice helps you develop mindfulness, making your yoga journey more effective and enjoyable.
Frequently Asked Questions
How Often Should Beginners Practice Yoga for Best Results?
To see the best results, you should aim for a consistent yoga practice, ideally practicing 3 to 4 times a week. This frequency helps build strength, flexibility, and mindfulness. As a beginner, follow tips like listening to your body and gradually increasing your practice duration. Consistency is key—sticking to a regular schedule guarantees progress and keeps you motivated on your yoga journey.
Can Yoga Help Improve Flexibility and Posture?
Think of yoga as a gentle breeze that helps your body find its natural balance. Yes, yoga can substantially improve your flexibility and posture. By incorporating stretching routines and mindful breathing techniques, you loosen tight muscles and align your spine. Regular practice helps your body become more resilient, reducing discomfort and enhancing overall posture. With patience and consistency, you’ll notice your body becoming more open, strong, and poised—like a tree rooted yet flexible.
What Should I Wear During Yoga Practice?
When practicing yoga, you should wear suitable clothing that allows free movement and keeps you comfortable. Opt for breathable, stretchy yoga attire like fitted tops and flexible bottoms such as leggings or shorts. Avoid overly loose or baggy clothes that might get in your way. Choose moisture-wicking fabrics if you tend to sweat. The right yoga attire helps you focus on your practice without distractions, making your session more enjoyable.
Are There Any Precautions for Pregnant Beginners?
Ever wonder if yoga’s safe during pregnancy? You should prioritize prenatal safety by consulting your healthcare provider first. Always listen to your body and avoid overexertion. Some pregnancy modifications are essential—gentle stretches, avoiding deep twists, and lying on your side. These adjustments help you stay comfortable and safe. Remember, your body’s changing, so adapt your practice accordingly to enjoy the benefits without risk.
How Do I Modify Poses for Limited Mobility?
When you have limited mobility, you can modify poses using chair modifications and seated adaptations. Sit tall in a sturdy chair, ensuring your feet are flat on the ground, and use the chair for support during stretches or gentle twists. Focus on gentle movements, avoid overstretching, and listen to your body. These adaptations help you stay comfortable and safe while gaining the benefits of yoga, even with mobility challenges.
Conclusion
As you embark on your yoga journey, these beginner poses are your guiding stars, lighting the path to balance and strength. With each breath, you weave your body into a tapestry of calm and resilience, like a steady tree rooted in the earth. Remember, every pose is a step toward harmony—an unfolding blossom in the garden of your practice. Embrace the quiet transformation, and let your inner light shine brighter with each gentle stretch.