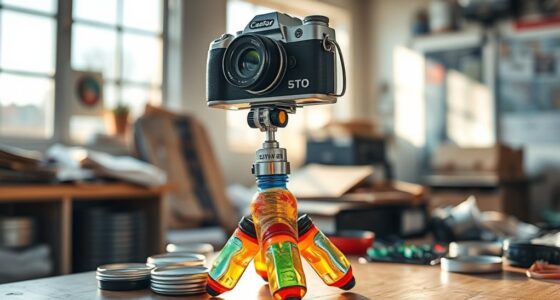
Building a pinhole camera is a simple, hands-on way to explore basic photography. You’ll need a sealed box, like cardboard or plastic, with a tiny hole created on one side. Light enters through this pinhole and projects an inverted image onto photographic paper inside. Adjusting the size of the hole affects image sharpness and brightness. Keep experimenting with these elements to better understand how light, exposure, and focus work together to create images.
Key Takeaways
- Construct a sealed lightproof enclosure using cardboard, metal, or plastic to prevent light leaks.
- Create a small, smooth, round pinhole aperture by piercing a tiny hole with a pin or needle.
- Adjust pinhole size to balance image sharpness and brightness; smaller for sharper images, larger for brighter ones.
- Inside the enclosure, position photographic paper or film to capture the inverted image formed by light passing through the pinhole.
- Use a shutter to control exposure time, and experiment with variables like hole size and distance to understand image formation.
Creating a pinhole camera is a simple and rewarding way to explore the fundamentals of photography. The first step is to build a lightproof enclosure that acts as the body of your camera. This enclosure needs to be completely sealed so that no extra light leaks in, which would ruin your image. Think of it as a tiny, dark box—usually made from materials like cardboard, metal, or even plastic—that prevents unwanted light from entering. The key is to guarantee that the interior remains completely dark until you’re ready to take a picture. Once you have your lightproof enclosure, you can cut out a small hole on one side, which will serve as the camera’s aperture. This tiny hole allows light from the scene outside to enter, creating an inverted image on the opposite interior wall of the enclosure—much like the camera obscura, a concept dating back centuries. The camera obscura was an early device that used a small opening to project an image onto a surface inside a dark room, and your pinhole camera is a portable, simplified version of that principle.
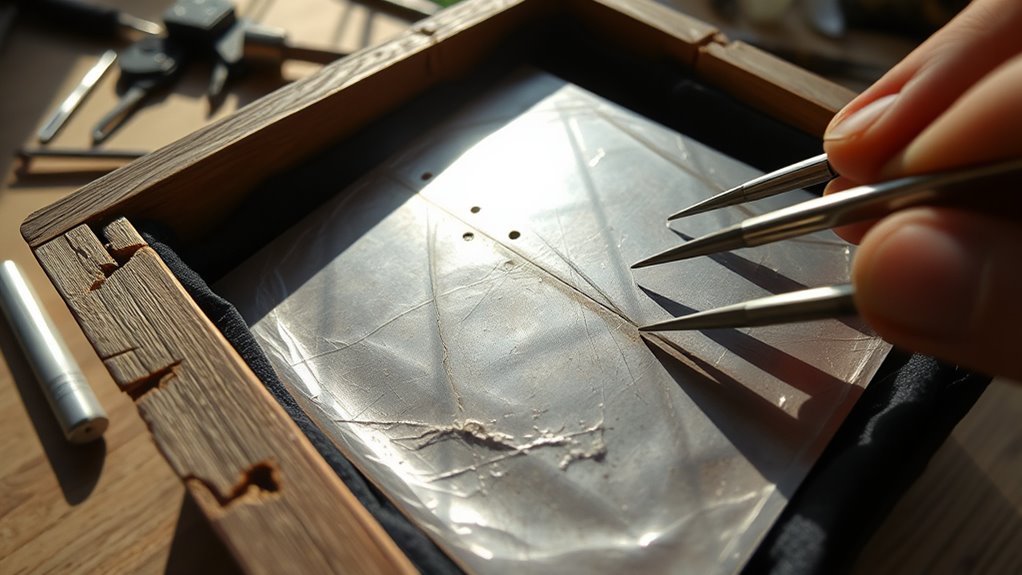
The size of the pinhole you make influences the sharpness and brightness of your image. A smaller hole produces a sharper picture but lets in less light, requiring longer exposure times. Conversely, a larger hole gathers more light, making the image brighter but potentially softer and less detailed. You can experiment with different sizes to find the ideal balance for your environment. To create the pinhole, you’ll carefully pierce the lightproof enclosure with a pin or needle, ensuring the hole is smooth and round. Precision matters here, as a jagged or uneven hole can distort your image. Once the pinhole is in place, you’ll attach a piece of photographic paper or film inside the enclosure opposite the hole. When you point your camera at a scene and open a shutter or remove a cover, light will pass through the tiny opening, projecting an inverted image onto the paper or film. This process, rooted in the camera obscura concept, allows you to capture a real, tangible photograph that you can develop later.
Building this camera is about understanding light’s behavior and how it interacts with small openings. It’s a hands-on way to see how images are formed and gain insight into the basics of exposure and focus. Additionally, understanding the contrast ratio of your camera’s setup can help you better control the depth and clarity of your images. As you experiment, you’ll learn how different variables—like hole size, exposure time, and the distance between the pinhole and the recording surface—affect your results. In the end, constructing your own pinhole camera offers an educational experience that deepens your appreciation for traditional photography techniques and the fundamental principles behind capturing images.
As an affiliate, we earn on qualifying purchases.
Frequently Asked Questions
How Long Should I Expose the Pinhole Camera for Optimal Photos?
You should set your exposure duration based on your camera’s light sensitivity and the lighting conditions. Generally, for brighter scenes, 10-30 seconds works well, while darker scenes may require 1-5 minutes. Adjust the exposure duration accordingly to avoid overexposure or underexposure. Experiment with different times to see what captures the scene best, keeping in mind that increasing exposure enhances detail in low light.
Can I Use Any Type of Material for the Pinhole?
Did you know that even a tiny pinhole can capture stunning images? You can use various alternative materials like thin metal, thick cardboard, or heavy-duty foil for your pinhole. Just make certain they’re lightproof options, so no stray light ruins your shot. Keep the material smooth and small enough to maintain sharp focus. Experimenting with different options can yield unique results, making your pinhole camera truly one-of-a-kind.
What Are Common Mistakes When Building a Pinhole Camera?
You should be careful with your pinhole design and camera alignment, as common mistakes include making the pinhole too large, which causes blurry images, or misaligning the camera, leading to distorted photos. Make certain your pinhole is tiny and perfectly centered for sharp focus. Avoid bending or shifting parts during assembly, and double-check your camera’s alignment to prevent skewed images. Taking your time during construction helps produce clearer, more accurate photographs.
How Do I Develop and Process Pinhole Camera Images?
Think of developing your pinhole images as nurturing a delicate seed. First, if you used film, submerge it in chemical development, gently agitating to bring your image to life. For digital scans, release your creativity through digital editing, enhancing contrast and details. Rinse with water, dry carefully, and the magic unfolds. Whether with chemicals or pixels, patience transforms your raw capture into a stunning visual story.
Is It Possible to Make a Waterproof or Weather-Resistant Pinhole Camera?
Yes, you can make a waterproof or weather-resistant pinhole camera. Use waterproof materials like plastic or metal for the body, and seal all joints with waterproof tape or silicone. Incorporate a weatherproof design by adding a cover or shutter to protect the pinhole from rain and dust. These steps guarantee your camera stays dry and functional outdoors, even in challenging weather conditions.
As an affiliate, we earn on qualifying purchases.
Conclusion
Now, you’ve crafted your own tiny window to the world, like opening a secret door to endless possibilities. Your pinhole camera is a delicate dance of light and shadow, capturing moments as fleeting as a whisper. With each click, you become an artist painting with the simplest tools, turning everyday scenes into timeless treasures. Remember, in this tiny box, you’ve discovered the magic of photography—where imagination shines brighter than any flash.
photographic paper for pinhole camera
As an affiliate, we earn on qualifying purchases.
As an affiliate, we earn on qualifying purchases.
As an affiliate, we earn on qualifying purchases.