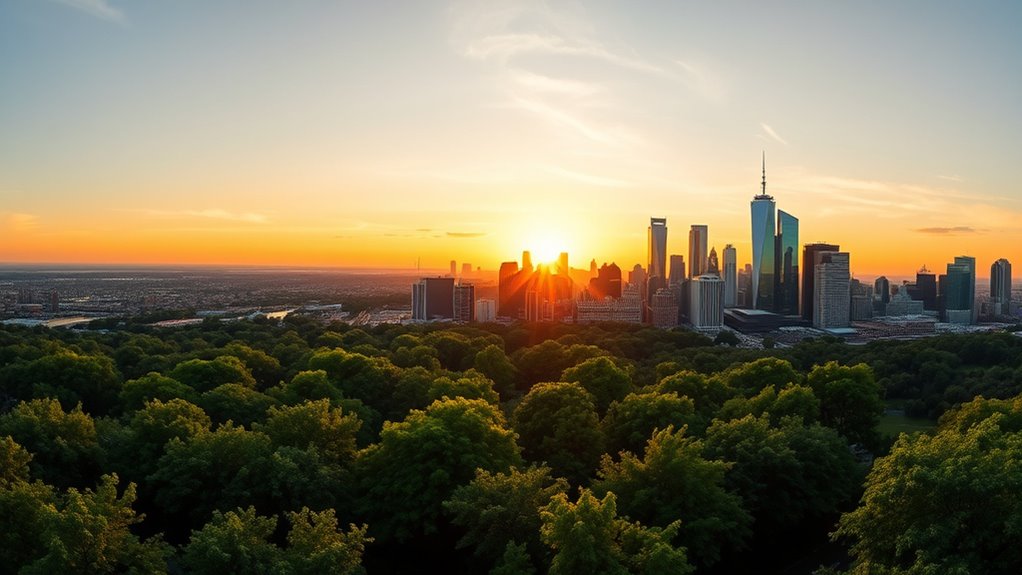

To shoot and stitch a panorama without special gear, set your camera to aperture priority at f/8 or f/11 for sharpness, keep ISO low, and lock your exposure for consistency. Use a sturdy tripod or steady surface, and keep the camera level and at the same height for all shots. Overlap each image by 30-50% while maintaining smooth, steady movements. If you want to perfect your technique, continuing with these tips will help you achieve seamless wide-angle photos.
Key Takeaways
- Use a tripod or stable surface to keep the camera level and steady during shooting.
- Overlap each photo by 30-50% to ensure accurate stitching without needing special gear.
- Maintain consistent camera settings and level the horizon for uniform exposure and alignment.
- Move the camera smoothly across the scene, avoiding jerky motions for seamless stitching.
- Review images for sharpness and proper exposure before capturing the next shot.
Capturing a stunning panorama requires careful planning and technique, but with the right approach, you can create seamless wide-angle images that showcase breathtaking scenery. The key is understanding how to optimize your camera settings and how to use a tripod effectively, even if you don’t have specialized gear. Your goal is to maintain consistency across shots, ensuring they blend smoothly during stitching.
Start by adjusting your camera settings to achieve consistent exposure across all images. Use aperture priority mode if possible, setting a narrow aperture like f/8 or f/11 to maximize depth of field and keep most of your scene sharp. Keep ISO low to avoid noise, and set your shutter speed to match the scene’s lighting conditions. Lock your exposure settings if your camera allows, so each shot maintains the same brightness level. This uniformity is vital for a seamless panorama.
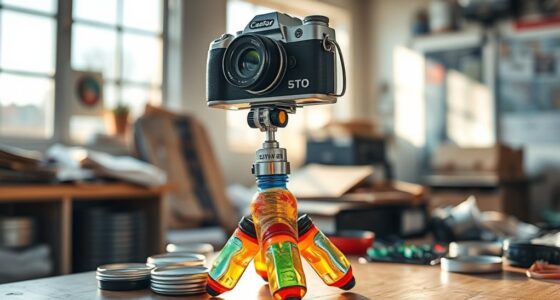
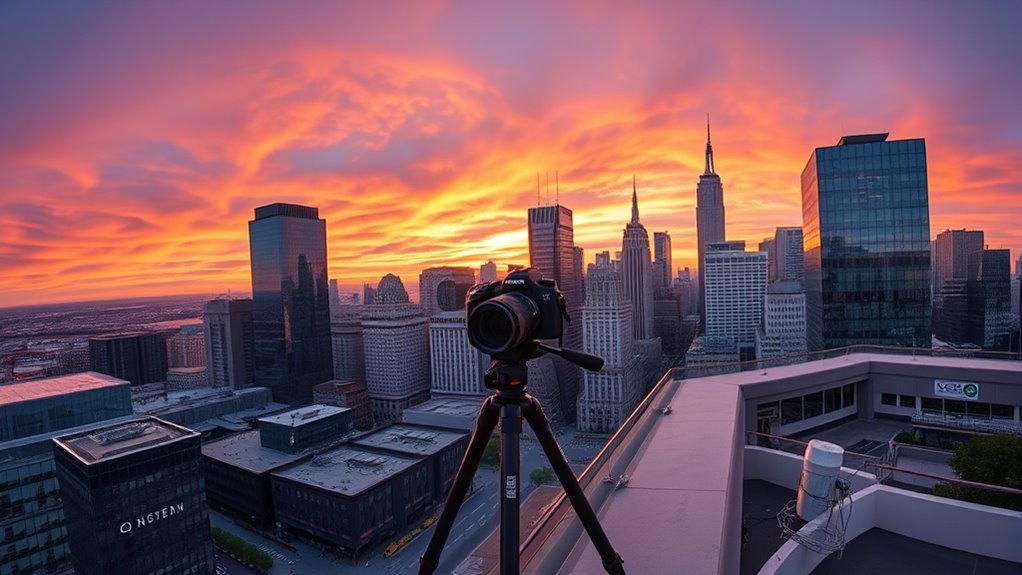
Next, think about tripod usage. While a sturdy tripod is ideal, even a makeshift setup can work if you’re careful. If you have a tripod, set it up on stable ground and level it as much as possible. Position your camera at roughly the same height for each shot to prevent vertical misalignment during stitching. If you don’t have a tripod, find a stable surface to rest your camera on, such as a wall or a pile of books, and hold it steady while taking each shot. Use your camera’s viewfinder or live view to ensure the horizon stays level, preventing uneven joins later.
When framing your shots, start at one side of your scene and slowly pan across, overlapping each photo by about 30-50%. Overlapping is essential because it gives your stitching software enough information to align the images accurately. Keep your camera level and steady, and try to move smoothly to avoid jerky or inconsistent shots. If your camera has a panoramic mode, use it; it often automates some of these settings and overlaps. Otherwise, manually capture each frame with the same settings and overlap.
Finally, review your shots on the camera’s screen to confirm they’re sharp, well-exposed, and properly aligned. Consistent camera settings and careful tripod usage will make stitching much easier and produce a professional-looking panorama, even without specialized gear. Additionally, maintaining your camera’s bulb maintenance can ensure your equipment performs reliably during long shooting sessions. With patience and practice, you’ll be able to capture expansive, stunning landscapes that truly wow viewers.

Amazon Basics 50-inch Lightweight Portable Camera Tripod Stand with Quick-Release Plate, Adjustable Height, Aluminum, for Travel Photography, Champagne
Camera mount tripod stand with zippered storage bag
As an affiliate, we earn on qualifying purchases.
As an affiliate, we earn on qualifying purchases.
Frequently Asked Questions
Can I Create Panoramas With a Smartphone Camera?
Yes, you can create panoramas with your smartphone camera. While smartphone limitations, like smaller sensors and fixed lenses, may affect image quality, you can still capture impressive wide shots. To enhance your panoramas, use a good editing app that stitches images seamlessly. Keep your phone steady, move slowly, and overlap shots slightly. With patience and the right app, you’ll produce stunning panoramic images right from your smartphone.
What Is the Best Way to Align Images Manually?
To manually align images for better stitching accuracy, start by overlapping each shot by about 30%, ensuring consistent exposure and focus. Use your photo editing software’s manual alignment tools to adjust images, matching prominent features like buildings or trees. Fine-tune the position until the seams blend seamlessly. This careful image alignment minimizes misalignment issues, resulting in a smoother, more precise panorama. Patience and precision are key for ideal stitching results.
How Do I Handle Moving Objects in the Scene?
Moving objects in your scene are like wild cards that can scramble your panorama’s harmony. To handle them, shoot multiple overlapping shots quickly to catch different moments and minimize their impact. When stitching, use masks to hide moving elements or blend frames carefully to maintain scene consistency. Think of it as taming chaos—keeping your panorama seamless despite the lively dance of moving objects around you.
Is There a Recommended Overlap Percentage for Stitching?
You should aim for an overlap percentage of about 20-30% to guarantee good stitching accuracy. This overlap gives your stitching software enough reference points to align the images properly. Too little overlap can cause errors, while too much wastes space. Keep your shots steady and consistent, and this overlap helps create a seamless panorama, even without special gear. Adjust if needed based on your scene’s complexity.
How Do I Correct Color and Exposure Inconsistencies?
Imagine your stunning panorama ruined by glaring color chaos and exposure disasters! To fix this, you need precise color correction and exposure adjustment. Use photo editing software to match the tones and brightness across your images, ensuring a seamless look. Adjust white balance, contrast, and shadows consistently. By carefully fine-tuning these elements, you’ll transform your panorama into a harmonious masterpiece, free of distracting inconsistencies.

Canon PowerShot SD850 IS 8.0 MP Digital Elph Camera with 4x Optical Image Stabilized Zoom (OLD MODEL)
8.0-megapixel CCD captures enough detail for photo-quality 16 x 22-inch prints
As an affiliate, we earn on qualifying purchases.
As an affiliate, we earn on qualifying purchases.
Conclusion
Now that you know how to shoot and stitch a panorama without special gear, imagine the stunning scenes you’ll capture. But beware—every shot counts, and a small mistake could ruin your masterpiece. Are you ready to experiment, learn, and perfect your technique? The next breathtaking panorama is just a click away. So, grab your camera, stay patient, and see where your creativity takes you. The horizon is waiting—will you be the one to reveal its full beauty?

NEEWER Tripod Head Leveling Base Camera Leveler, 3 Axis Wheel Metal Head with Bubble Levels, 3/8" Screw & Thread, +/-9° Precise Angle Adjustment for Macro Panoramic Photography, Max Load 33lb, LP65
【Tripod Leveling Base with Bubble Level】 The tripod leveling base features three short support pillars that provide up…
As an affiliate, we earn on qualifying purchases.
As an affiliate, we earn on qualifying purchases.

Mini Ball Head, ULANZI H28 Panoramic Tripod Head + Dual Hot Shoe Mount DSLR Camera Mount Adapter Photograph Attachment Accessories for Action Cameras Cam Smartphone Light Microphone Loading 5.5lb
【Sturdy & Durable】 The maximum load capacity is 5.5lb/3kg. Made of sturdy aluminum alloy and stainless steel, sturdy,…
As an affiliate, we earn on qualifying purchases.
As an affiliate, we earn on qualifying purchases.