
To build a DIY ring light for portraits, start by selecting bright, adjustable LED strips or bulbs and mount them onto a sturdy circular frame made from wire, hula hoops, or PVC pipes. Cover the LEDs with a translucent diffuser like fabric or parchment paper to soften the light. Position the ring at eye level, experiment with angles, and adjust the distance for best results. Keep exploring further tips to perfect your setup and achieve professional-looking portraits.
Key Takeaways
- Use LED strips or ring-shaped LED bulbs mounted on a sturdy circular frame like wire, hula hoop, or PVC pipes.
- Cover LEDs with diffusing material such as white fabric or parchment paper to soften light and ensure even illumination.
- Position the ring light at eye level or slightly above, angling it to minimize shadows and enhance facial features.
- Secure the light onto a tripod, stand, or flexible arm for stability and easy height adjustments during portrait sessions.
- Experiment with distance and angle to achieve the desired lighting effect, adjusting for softer or more dramatic illumination.
Creating your own DIY ring light for portraits is a cost-effective way to achieve professional-looking photos without investing in expensive equipment. With a little effort and some simple materials, you can craft a lighting setup that enhances your portraits dramatically. The key is understanding how lighting techniques and portrait angles work together to produce flattering images. A well-designed ring light provides even, soft illumination that minimizes shadows and highlights facial features beautifully. When constructing your DIY ring light, focus on creating a consistent, diffused light source that wraps around your subject’s face, emphasizing their natural beauty.
Start by choosing a suitable light source. LED strips or ring-shaped LED bulbs are popular options because they emit bright, adjustable light and generate minimal heat. You can find inexpensive LED kits online that come with a power supply and dimmer switch, giving you control over brightness. Mount these LEDs onto a circular frame—this could be a sturdy piece of wire, a hula hoop, or a DIY frame made from PVC pipes. Make sure the frame is large enough to position the light close to your subject’s face without obstructing your camera’s view. Once assembled, cover the LEDs with a translucent diffuser material such as white fabric or parchment paper. This step is essential to soften the light and diffuse harsh spots, resulting in the signature glow of a professional ring light.
Choose LED strips or ring LEDs, mount on a circular frame, and diffuse with fabric for professional glow.
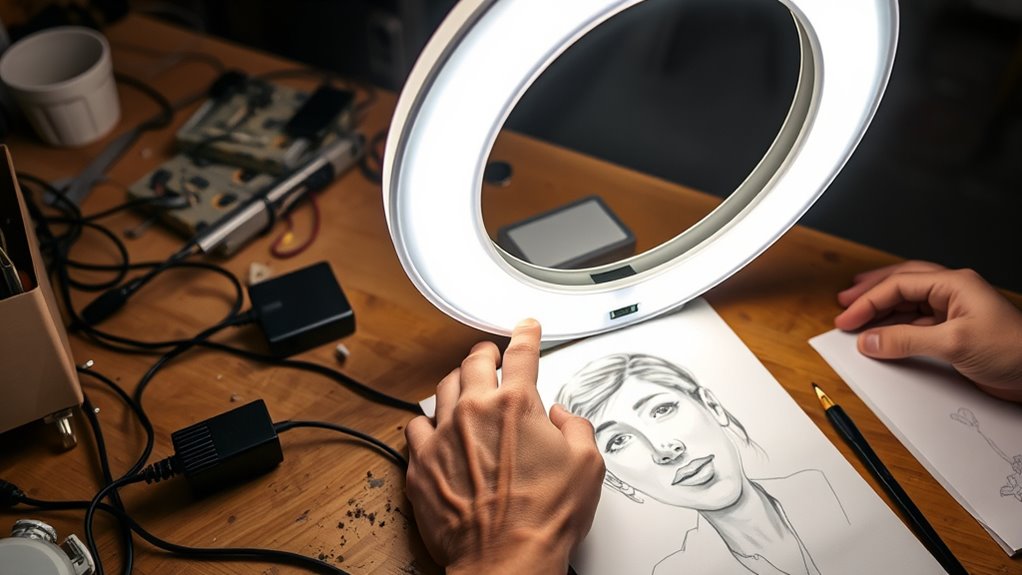
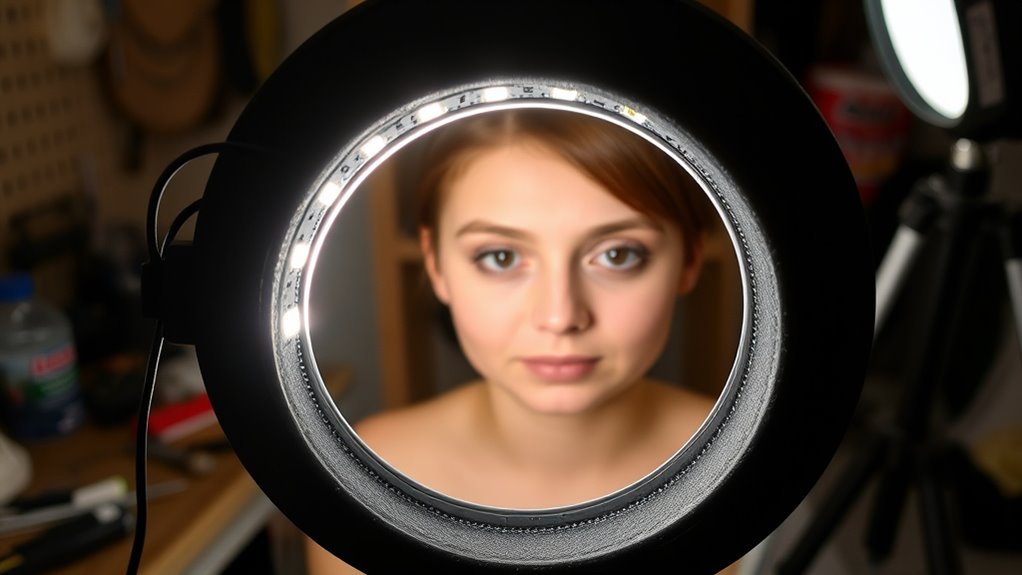
Next, position your DIY ring light in relation to your portrait angles. The best lighting techniques involve placing the light at eye level or slightly above your subject’s face, angling it directly or slightly downward. This reduces unflattering shadows under the chin and nose while providing a flattering catchlight in the eyes. Remember to experiment with different angles to see how the light interacts with your subject’s features. For example, a slight tilt can add depth and dimension, while a direct, frontal position offers a more uniform glow. Adjust the distance between the ring light and your subject to control the intensity—closer for softer, more dramatic effects, or farther away for a more subtle illumination.
Finally, ensure your DIY ring light is stable and easy to position. Use a tripod, a stand, or mount it on a flexible arm. Test different portrait angles while observing how the light falls on your subject’s face. This experimentation helps you fine-tune your setup for the best results. With patience, you’ll find that your homemade ring light not only saves money but also offers versatile lighting options for capturing stunning portraits. The combination of effective lighting techniques and well-chosen portrait angles will elevate your photography, making every shot look polished and professional.
Top picks for "construct ring light"
Open Amazon search results for this keyword.
As an affiliate, we earn on qualifying purchases.
Frequently Asked Questions
What Is the Ideal Size for a DIY Ring Light?
The ideal size for a DIY ring light depends on your portability needs and photography style. A diameter of 12-18 inches offers a good balance, providing ample light while remaining portable enough for on-the-go shoots. Smaller sizes around 8-10 inches are easier to carry but may produce less even lighting. Choose a size that fits your space, ease of use, and desired light coverage for the best results.
How Can I Adjust the Color Temperature of My Ring Light?
You can adjust the color temperature of your DIY ring light by incorporating a dimmable LED bulb with adjustable settings, giving you precise lighting color control. Many LED strips or bulbs come with built-in controls or remote options for easy color temperature adjustment. Simply turn the dial or use the remote to find the perfect warmth or coolness for your portraits, ensuring your lighting matches your desired aesthetic and enhances your subject.
What Safety Precautions Should I Take During Assembly?
Think of assembling your ring light as tending a delicate garden; electrical safety is your watering can, and proper handling is your pruning shears. Always unplug the power source before working, avoid exposed wires, and use insulated tools. Keep your workspace dry, wear gloves if needed, and handle components gently to prevent damage. These precautions safeguard you from electrical hazards and ensure your DIY project blossoms safely into a perfect portrait tool.
How Do I Ensure Even Light Distribution Across the Subject?
To guarantee even light distribution, start by using a diffuse material like frosted acrylic or white nylon around your light source. Position the light ring close to the subject’s face, keeping it centered for uniform coverage. Adjust the light’s angle and distance to eliminate shadows and hotspots. Regularly check the light’s spread through test shots, fine-tuning the light positioning and diffuser placement for consistent, balanced illumination.
Can I Use Non-Led Bulbs in My DIY Ring Light?
Did you know that 60% of photographers prefer LED lighting for its durability and color accuracy? You can use non-LED bulbs in your DIY ring light, but you need to check bulb compatibility and guarantee proper light diffusion. Incandescent or CFL bulbs might work, but they often produce more heat and uneven light. To achieve the best results, consider using diffusers to spread the light evenly across your subject.
Conclusion
Now that you’ve built your own ring light, you can light up your portraits with confidence, creativity, and clarity. You’ve learned to customize your setup, control your lighting, and enhance your photos effortlessly. With your DIY ring light, you can experiment, improve, and achieve professional-looking results—all on a budget. So go ahead, take your portraits to the next level, embrace your creativity, and enjoy the process of capturing perfect moments illuminated by your own hands.