To make your own natural lip balm for soft lips, melt together shea butter, coconut oil, and beeswax using a double boiler. Stir well, then remove from heat before adding vitamin E and natural flavorings like honey or vanilla. Pour into small containers and let it cool until solid. This simple process lets you customize your balm to suit your needs, ensuring a safe, chemical-free product. Continue exploring to discover more tips and tricks for creating perfect balms at home.
Key Takeaways
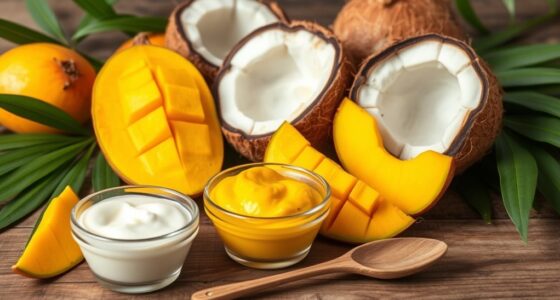
- Use natural ingredients like shea butter, coconut oil, beeswax, and vitamin E for a nourishing, chemical-free lip balm.
- Melt ingredients gently using a double boiler, then mix thoroughly before pouring into containers.
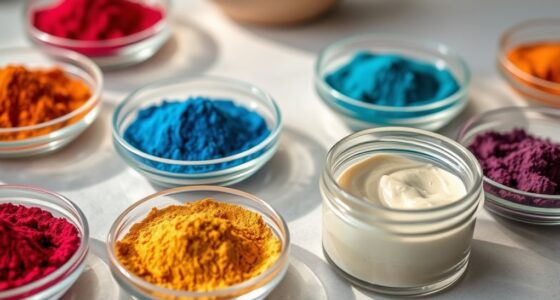
- Customize with natural flavorings such as honey, vanilla, or beetroot powder for added taste and benefits.
- Reuse small containers or tins to store your homemade balm, ensuring eco-friendly packaging.
- Regularly apply to keep lips soft, hydrated, and protected from harsh weather conditions.
Creating your own lip balm at home is a simple and rewarding way to keep your lips soft and protected. When you make your own, you have control over the ingredients, guaranteeing that only the best natural remedies touch your skin. The key to a nourishing, effective lip balm lies in choosing the right lip balm ingredients. Natural oils, butters, and waxes form the foundation, providing hydration and a protective barrier against environmental damage. Ingredients like shea butter, coconut oil, beeswax, and vitamin E are popular choices because they’re deeply moisturizing, readily available, and gentle on sensitive skin. Using natural remedies means avoiding synthetic fragrances, preservatives, and chemicals often found in store-bought balms, making your homemade version safer and more personalized.
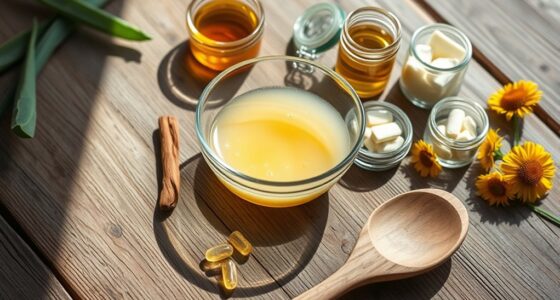
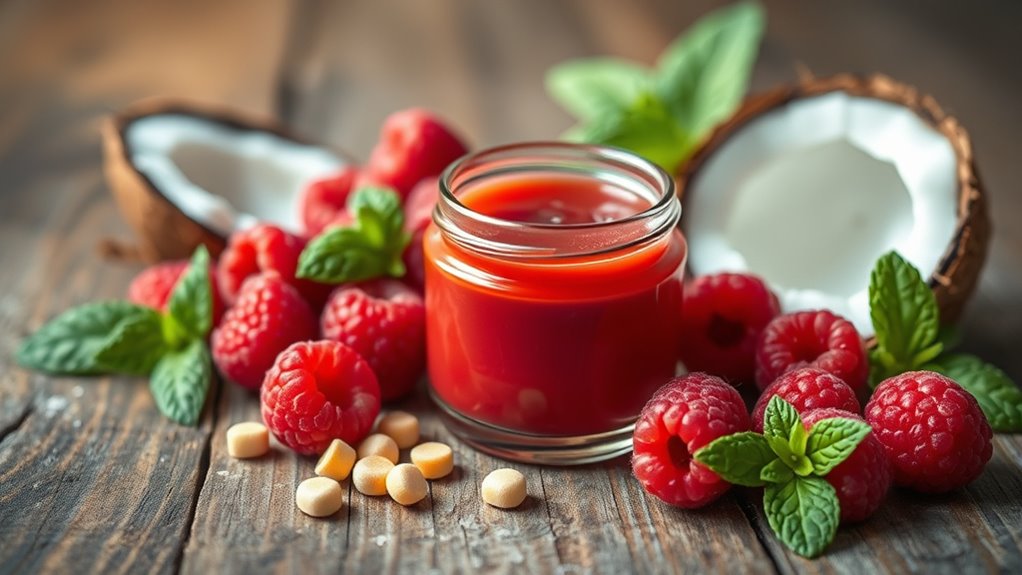
Start by gathering your lip balm ingredients. Shea butter and coconut oil serve as excellent base ingredients because they’re rich in fatty acids that penetrate deeply and lock in moisture. Beeswax acts as a natural thickener and creates a shield that prevents moisture loss. Vitamin E, often available as an oil or capsule, offers antioxidant properties, helping to heal and protect chapped lips. If you prefer a slight tint or flavor, consider adding natural ingredients like honey, vanilla extract, or a small amount of beetroot powder. These not only enhance the sensory experience but also introduce additional natural remedies with healing properties. Incorporating natural ingredients can boost the effectiveness of your balm and cater to specific skin needs.
Gather natural ingredients like shea butter, coconut oil, beeswax, and vitamin E for nourishing homemade lip balm.
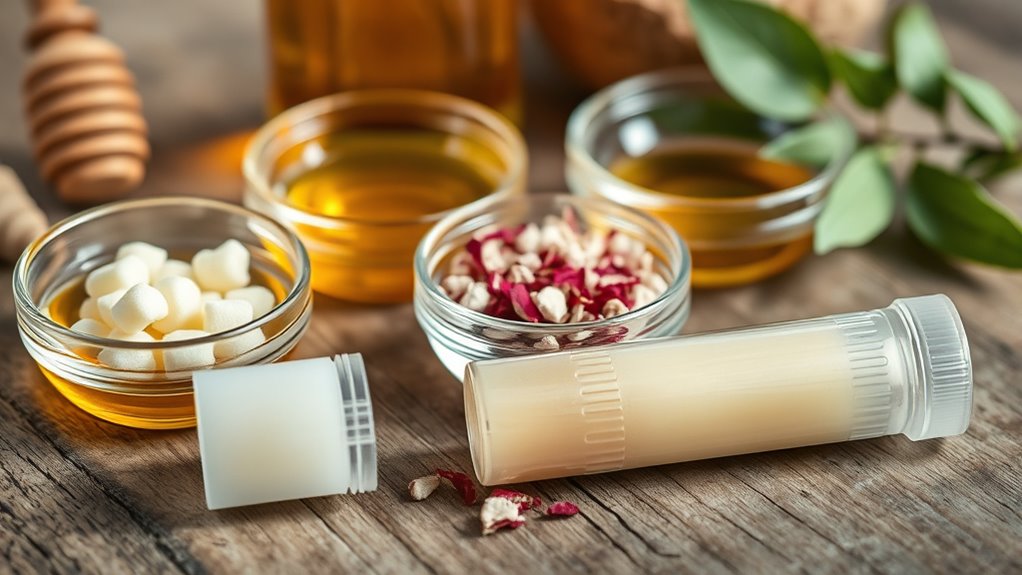
Once you have your ingredients, melting them is straightforward. Use a double boiler or a heat-safe bowl over a pot of simmering water to gently melt the beeswax, shea butter, and coconut oil. Stir constantly to ensure an even mixture. Once melted, remove the bowl from heat and add your vitamin E and any natural flavorings or colorants. Stir well to combine. Pour the liquid into small containers or tins, which you can find at craft stores or repurpose from old lip balm containers. Allow the mixture to cool and solidify at room temperature. This process ensures you get a smooth, uniform balm that melts easily on your lips.
Making your own lip balm allows you to experiment with different natural remedies and ingredients to suit your preferences. Whether you want a simple, unscented balm or something with a hint of flavor, customizing your recipe is easy and fun. Plus, knowing exactly what’s in your lip balm gives you peace of mind, especially if you have sensitive skin or allergies. Regularly using your homemade balm can keep your lips hydrated, soft, and healthy, even in harsh weather. With just a few basic ingredients and a little effort, you can enjoy the benefits of a natural, DIY lip balm tailored perfectly to your needs.
Frequently Asked Questions
How Long Does Homemade Lip Balm Last?
Homemade lip balm typically lasts about 3 to 6 months, depending on ingredients and storage. To maximize its shelf life, store your homemade lip balm in a cool, dry place, preferably in an airtight container. Proper homemade lip balm storage prevents contamination and preserves its freshness. Always check for changes in smell, texture, or color before use, and discard if you notice any signs of spoilage.
Can I Add Essential Oils Safely?
You can add essential oils safely if you follow proper dilution guidelines and essential oil safety tips. Always dilute essential oils in carrier oils like coconut or beeswax before adding them to your homemade lip balm to prevent skin irritation. Stick to small amounts, usually 1-2 drops per batch, and avoid sensitive areas. By following these precautions, you’ll enjoy the benefits of essential oils safely in your natural lip balm.
Is Homemade Lip Balm Suitable for Sensitive Skin?
Yes, homemade lip balm can be suitable for sensitive skin if you choose hypoallergenic ingredients and avoid common irritants. You should test small amounts on your skin first to check for reactions, and opt for gentle oils like coconut or shea butter. By carefully selecting ingredients and monitoring your skin’s response, you can create a soothing, natural lip balm that minimizes irritation and keeps your lips soft.
What Are Common Substitutions for Beeswax?
If you’re worried about beeswax, you can easily use vegan waxes like soy wax, candelilla wax, or carnauba wax as substitutes. These beeswax alternatives provide similar texture and consistency, making your homemade lip balm suitable for sensitive skin and vegans alike. Switching to vegan waxes isn’t complicated, and you’ll still get a nourishing, softening balm that works just as well. Give it a try and enjoy your natural, cruelty-free creation!
How to Store Homemade Lip Balm Properly?
To store your homemade lip balm properly, follow these storage tips. Pick airtight containers like small glass jars or metal tins to keep it fresh and prevent contamination. Keep your balm in a cool, dry place away from direct sunlight, which can cause melting or spoilage. Make sure the container is clean before use, and always close it tightly after applying. Proper storage extends the shelf life and maintains the quality of your natural lip balm.
Conclusion
Creating your own natural lip balm is simple, satisfying, and sensational. By blending basic ingredients with care and creativity, you’ll craft a comforting, customizable cure for chapped lips. Remember, the more mindful you are during your makeup, the more marvelous your lips will feel. So, seize the supplies, stay safe, and start shaping your soothing, sustainable skincare today. Your soft, supple smile is just a few steps away—so go on, get glowing with your gorgeous, homemade gloss!