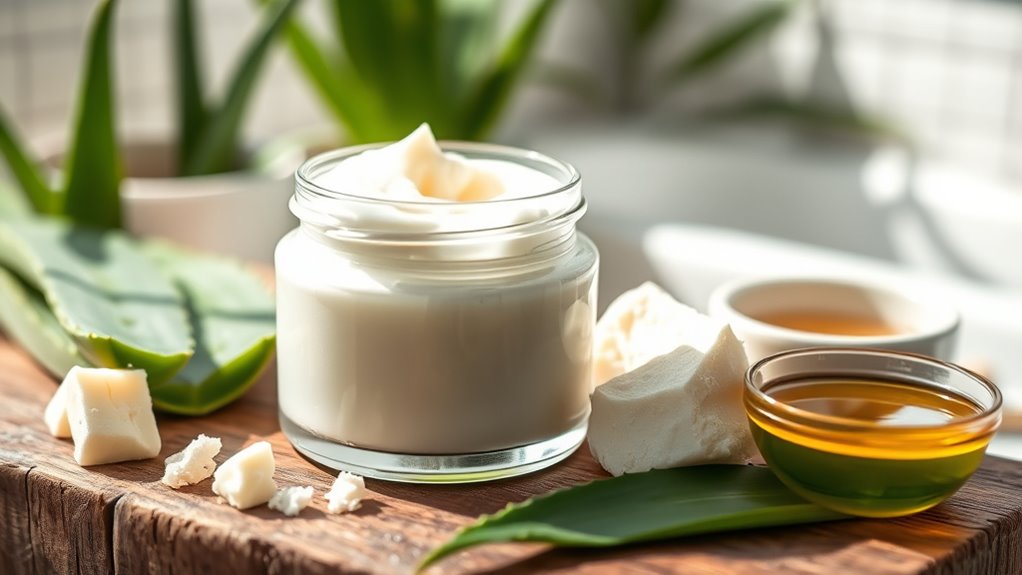
To make a barrier-repairing face cream at home, melt shea butter, beeswax, and coconut oil together until smooth. Mix in lightweight carrier oils like jojoba or almond oil for added nourishment. You can also add natural extracts such as aloe vera or chamomile for soothing benefits. Pour the mixture into a clean container and let it cool to solidify. If you want detailed steps and tips, keep going for all the easy-to-follow instructions.
Key Takeaways
- Gently melt shea butter, coconut oil, and beeswax together for a smooth base.
- Mix in lightweight carrier oils like jojoba or almond oil for added nourishment.
- Incorporate natural extracts such as aloe vera, chamomile, or calendula for soothing benefits.
- Pour the blended mixture into a clean container and allow it to cool and solidify.
- Store in a cool, dark place and apply consistently to support skin barrier repair.
If your skin feels dry, irritated, or sensitive, you might need a barrier-repairing face cream to restore its natural defenses. Creating your own DIY skincare with natural ingredients allows you to customize a product suited to your skin’s needs. When making a barrier repair cream at home, focus on ingredients that strengthen and nourish your skin’s protective outer layer, such as oils, butters, and soothing plant extracts. Using natural ingredients ensures you avoid harmful chemicals, making your skincare routine gentler and more effective.
Create your own natural barrier-repair cream with nourishing oils, butters, and soothing plant extracts for healthier skin.
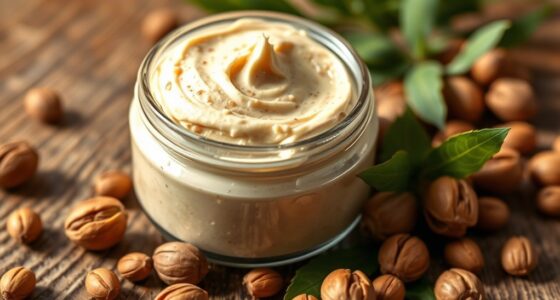
Start by choosing a base that offers deep hydration and barrier support. Shea butter is an excellent choice because it’s rich in fatty acids that help repair and protect the skin. Coconut oil is another popular ingredient, known for its antimicrobial properties and ability to lock in moisture. You can combine these with carrier oils like jojoba or almond oil, which are lightweight and non-comedogenic, helping to balance your skin’s oil production while providing essential nutrients. For added healing, include ingredients like beeswax, which forms a protective barrier on the skin’s surface, sealing in moisture and shielding against environmental stressors.
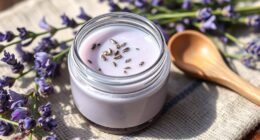
Adding natural extracts can enhance the cream’s soothing and regenerative effects. Aloe vera gel is a fantastic ingredient, packed with antioxidants and anti-inflammatory compounds that calm irritated skin. Calendula or chamomile extracts are also beneficial, as they promote healing and reduce redness. When preparing your DIY skincare, make sure to melt the butters and beeswax gently, then mix in your carrier oils and natural extracts thoroughly. Pour the mixture into a clean container and let it cool and solidify before use. This simple process allows you to control what goes into your cream, ensuring it’s free from preservatives and synthetic fragrances.
Furthermore, understanding the importance of the skin’s barrier can guide you in selecting ingredients that contribute to skin health, helping to prevent further damage and maintain overall skin integrity. To get the best results, apply your homemade barrier-repair cream consistently, especially after cleansing or exposure to harsh elements. Use clean utensils and containers to prevent contamination, and store your cream in a cool, dark place to prolong its shelf life. Crafting your own skincare not only allows you to incorporate natural ingredients but also gives you the satisfaction of knowing exactly what’s nourishing your skin. With patience and attention to detail, your DIY barrier-repairing face cream can become an essential part of your skincare routine, helping your skin regain strength, moisture, and resilience.
Frequently Asked Questions
Can This Face Cream Be Used on Sensitive Skin?
Yes, you can use this face cream on sensitive skin, but you should be cautious. If you have sensitive skin, check for ingredient allergies first, as some ingredients might cause irritation. Patch test the cream on a small area before regular use. If you notice redness or discomfort, discontinue use. Always choose gentle, fragrance-free ingredients and consult a dermatologist if you’re unsure about specific ingredients.
How Long Does Homemade Barrier-Repairing Cream Last?
Your homemade barrier-repairing cream typically lasts about 1 to 2 months. To maximize shelf life, store it in an airtight container in a cool, dark place away from direct sunlight. Always use clean hands or a spatula to prevent contamination. Keep an eye out for changes in smell, texture, or color, and discard the cream if you notice any signs of spoilage to make sure your skin stays safe and healthy.
Are There Any Allergens in This DIY Face Cream?
Think of your skin as a fortress; you want to keep it secure, not vulnerable. Your DIY cream may contain allergen risks depending on ingredients like beeswax, essential oils, or plant extracts. If you have ingredient sensitivities, these could trigger reactions. Always do a patch test first, and be aware of common allergens to minimize risks. Your homemade cream can be gentle, but understanding potential sensitivities helps protect your skin’s barrier.
Can I Customize the Recipe for Oily or Dry Skin?
Yes, you can customize the recipe for your skin type by adjusting ingredients. For oily skin, reduce heavy oils and add ingredients like clay or tea tree oil to control excess oil. For dry skin, increase nourishing oils like jojoba or almond oil, and include hydrating ingredients such as honey or aloe vera. Tailoring these ingredient adjustments helps your homemade barrier-repairing cream work better for your specific skin type.
Is This Cream Suitable for Daily Use?
Picture your skin as a delicate garden, thriving with proper care. This cream offers ingredients versatility, making it suitable for daily use to nurture your skin gently. Just guarantee proper storage considerations—keep it in a cool, dark place to preserve its potency. Regular application helps reinforce your skin’s natural barrier, so you can confidently face each day with a well-cared-for, resilient glow.
Conclusion
Now that you’ve crafted your own barrier-repairing face cream, you’ve taken a step towards healthier, more resilient skin. With simple ingredients and a touch of Victorian ingenuity, you can maintain your skincare routine effortlessly. Remember, consistency is key—think of it as your personal alchemy for glowing skin. Keep up with your new ritual, and your complexion will thank you. After all, even the most diligent apothecary knew the value of patience and care.