To make affordable photography backdrops, start with inexpensive materials like fabric, colored paper, or painted cardboard. Use strategic lighting, such as soft diffused light or directional lamps, to enhance colors and create shadows or highlights. Layer different textures and experiment with patterns or translucent fabrics to add depth. Keep it simple and creative, using readily available items to achieve professional-looking results. Stay with us, and you’ll discover even more tips to elevate your backdrop game.
Key Takeaways
- Use inexpensive materials like fabric, colored paper, or painted cardboard to create customizable backdrops.
- Incorporate layered textures and patterns with paint, fabric, or textured papers for visual interest.
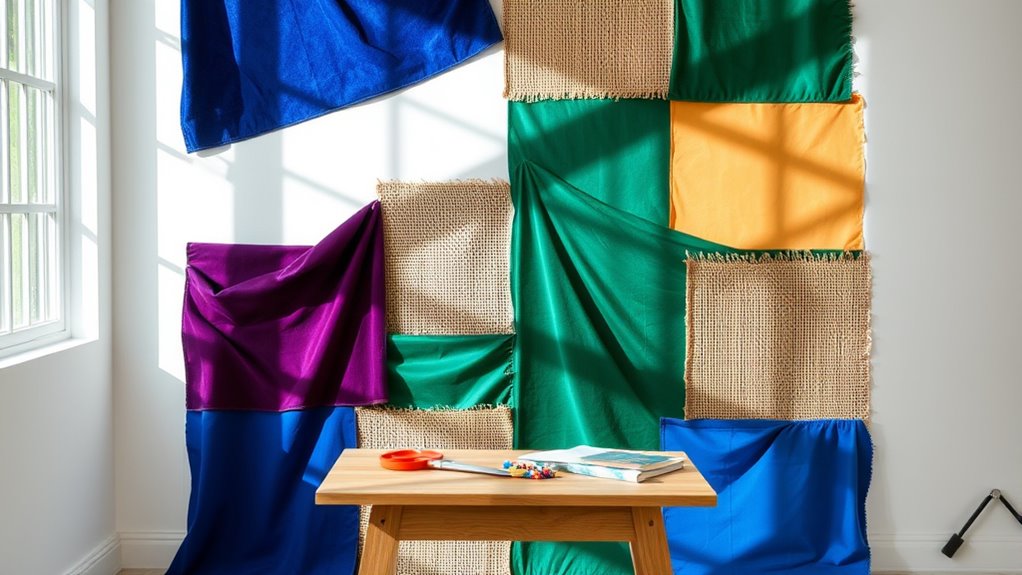
- Hang or drape materials seamlessly to achieve a clean, professional look without costly equipment.
- Utilize adjustable lighting, natural or inexpensive lamps, to enhance colors and create mood.
- Experiment with color schemes and lighting angles to achieve desired effects on a budget.
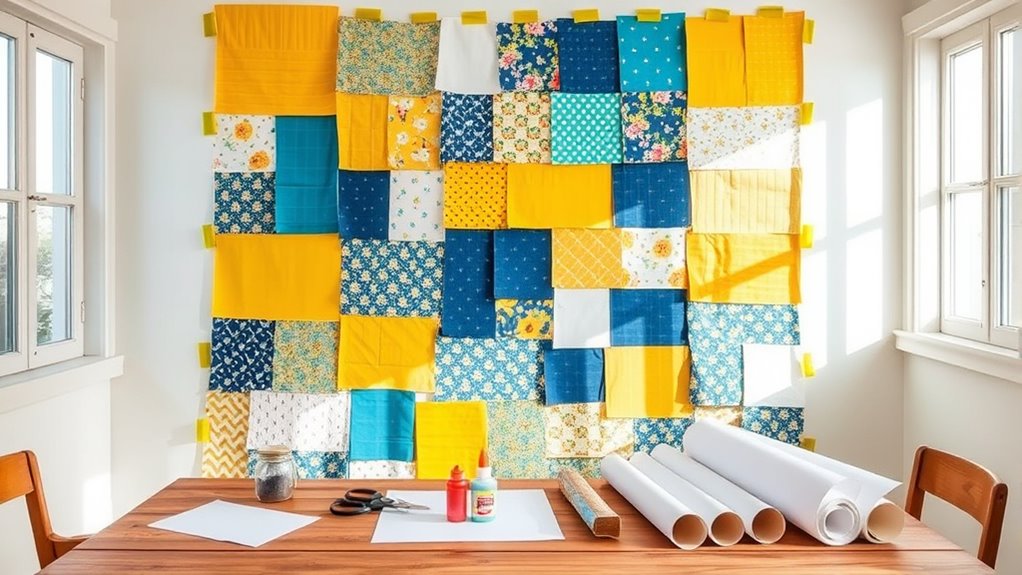
Have you ever wanted a stunning backdrop for your photos or events without breaking the bank? Creating your own DIY backdrops is an affordable way to elevate your photography without expensive equipment or professional help. The key to making your backdrop look professional and appealing lies in understanding lighting techniques and choosing the right color schemes. When selecting materials and designing your background, think about how different lighting can transform the scene. Soft, diffused light can minimize shadows and create a smooth, even look, while directional lighting adds depth and drama. Experiment with natural light or use inexpensive lamps with adjustable brightness to highlight specific areas of your backdrop. Proper lighting not only enhances the overall aesthetic but also allows you to control the mood and focus of your photos. Using hydrocolloid material or similar techniques can also help create smooth, blemish-free backgrounds by covering imperfections and providing a clean surface. Color schemes are equally crucial in crafting a compelling backdrop. Decide on a palette that complements your subjects or matches the theme of your event. Neutral tones like whites, grays, or beige are versatile and work well with various lighting setups, offering a clean, modern look. If you want something vibrant, opt for bold colors like reds, blues, or yellows, but keep in mind how these hues interact with your lighting. Bright colors can pop under certain lighting conditions but may become overwhelming if not balanced properly. Conversely, pastel shades provide a softer, more delicate ambiance. When choosing your color scheme, consider the atmosphere you aim to create and how it will look under different lighting conditions, as colors can shift or appear differently depending on the light source. To put your ideas into action, gather inexpensive materials like fabric, paper, or paint. Fabric rolls or large sheets of colored paper are easy to hang or drape, creating seamless backgrounds. You can also paint a large canvas or piece of cardboard using your chosen color scheme, adding creative elements like patterns or textures to make it unique. Incorporate lighting techniques by positioning lamps at various angles to emphasize colors or create interesting shadows and highlights. Using sheer fabrics or translucent paper can diffuse light beautifully, giving your backdrop a soft glow. Play around with layering different materials—like combining painted backgrounds with textured fabrics—to add depth and visual interest. Additionally, exploring lighting techniques can significantly impact the overall look and feel of your backdrop. In the end, making your own backdrop is about combining your creativity with practical techniques. By paying attention to lighting techniques and carefully selecting color schemes, you can produce a professional-looking background that enhances your photos or events. It’s a cost-effective way to personalize your space and experiment with different styles, all while keeping the process fun and fulfilling.
Frequently Asked Questions
What Are the Best Materials for DIY Photography Backdrops?
The best materials for DIY photography backdrops include fabric options like muslin, canvas, or felt, which are affordable and easy to work with. You can also use paint techniques on surfaces like plywood or cardboard to create custom designs. These materials are versatile, lightweight, and cost-effective, allowing you to craft unique backgrounds. Experiment with different textures and colors to match your style and enhance your photos effortlessly.
How Can I Ensure My Backdrop Is Durable and Long-Lasting?
To guarantee your backdrop is durable and long-lasting, choose materials with good material longevity, like heavy-duty vinyl or thick fabric. Regular maintenance tips include cleaning it gently with a damp cloth and avoiding sharp objects that can cause tears. Store it properly by rolling instead of folding to prevent creases. These steps help your backdrop stay in great condition, saving you money and effort over time.
What Techniques Prevent Wrinkles and Creases in Homemade Backdrops?
To prevent wrinkles and creases, you should first choose wrinkle-resistant fabrics like muslin or canvas. Before hanging, iron or steam your backdrop thoroughly, focusing on areas prone to creasing. Use clamps or clips to keep the fabric taut, which helps maintain smoothness. Additionally, storing your backdrop rolled up rather than folded reduces crease formation. Regularly re-steaming or pressing between shoots also effectively eliminates creases and keeps your background looking professional.
How Do I Choose the Right Size for My Backdrop?
To choose the right size for your backdrop, consider your shooting space and subjects. Measure the backdrop height to guarantee it covers from the floor to above your head comfortably, allowing for full-body shots. For backdrop width, pick a size that accommodates your width needs without excessive excess fabric. Typically, a height of 6-8 feet and width of 10-12 feet work well for versatile photography setups.
Can I Easily Change or Store DIY Backdrops After Use?
Ever wonder if you can easily change or store your DIY backdrops? Absolutely! You can fold or roll your backdrops to keep them compact, making storage simple. Using creative storage solutions like hanging hooks, clip rings, or portable garment bags helps maintain their shape and makes them easy to transport. Are you maximizing your portability options? With the right storage solutions, switching and storing your backgrounds becomes quick and hassle-free.
Conclusion
Creating your own photography backdrops is a budget-friendly way to elevate your photos. With just a few simple materials, you can craft unique, personalized backgrounds that suit your style. Did you know that DIY backdrops can save you up to 70% compared to buying ready-made ones? So, get creative, experiment, and transform your space into a professional-looking studio without breaking the bank. Your perfect shot might just be a DIY project away!